
I’ve had this old Tacoma acoustic guitar around the shop for quite some time- it’s already had a headstock repair in the past, but it didn’t hold, unfortunately. You can see the hairline crack in the first few pictures. With the angle of the break itself, it posed a real challenge in a simple glue and clamp job. The last repair was splined around the break, but it was freehanded and didn’t hold. So now it’s time to get the big guns out!
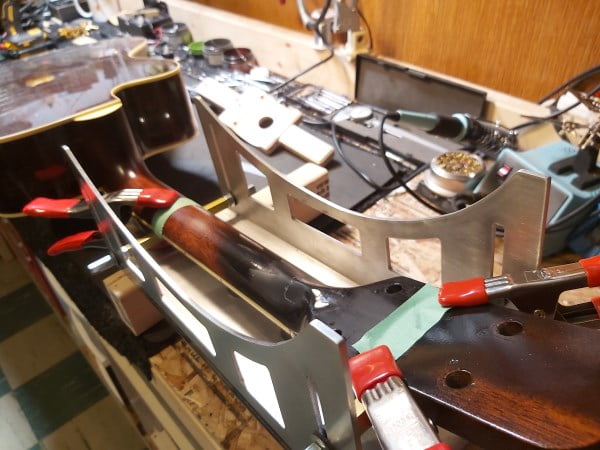
I’ve been meaning to try out the “Stringtech Neck Surgery Jig” for headstock repair jig ever since I first found it online, a company headed by fellow Canadian luthier/instructor/designer, Michael McConville. This jig setup is part of the “Techdeck Workstation”, an instrument-supporting workstation for neck and fret repair, for which the jig is designed to work with.
I don’t have the entire workstation, so I simply customized the parts to fit with the setup I have – attaching the jig to my vice and the guide to my old Craftsman router.

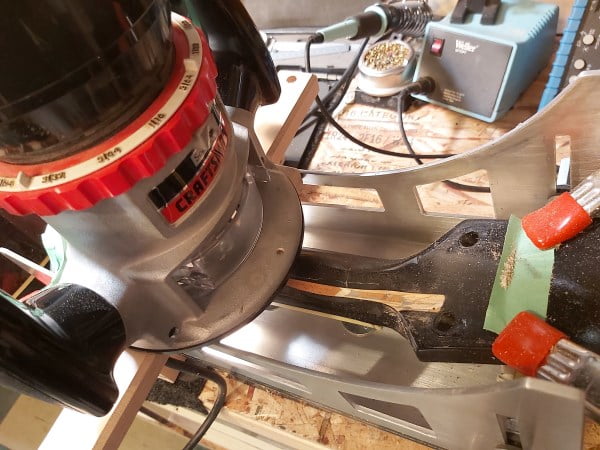
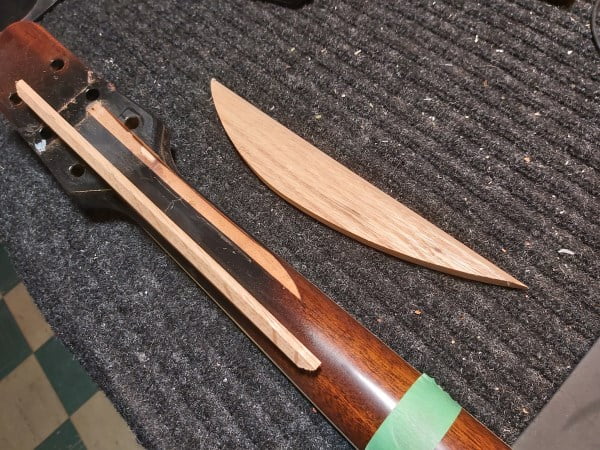
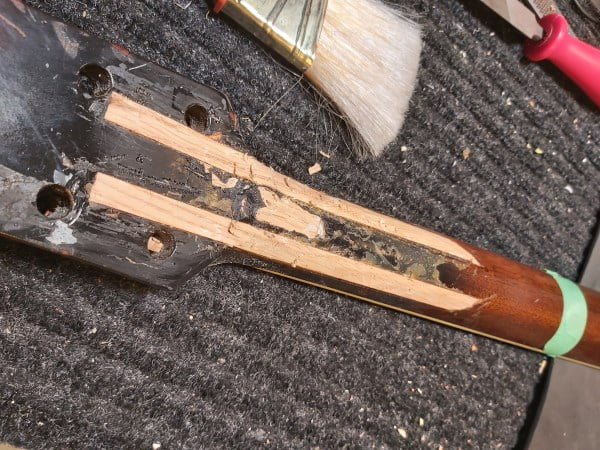
Routing out splines takes some careful consideration before turning on the router. Careful measurement of depth and location. Don’t forget there is a metal truss rod running down the centre of the neck! I found this jig did complicate the process slightly- compared to a straight cutting through the neck, although its design bears a lot of merits. It is definitely well thought out. The router along the arced guide rails which can match or closely match the angle of a headstock, allowing a deep cut into the neck, where it matters most. New splines will be glued in creating “grain confusion” which will produce a rock-solid neck- far stronger than it ever was.
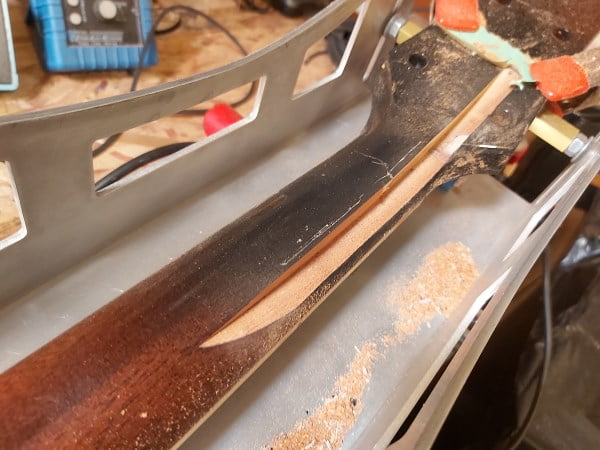

As you can see the cuts are super precise and will provide an easy gluing surface area. I found that matching the curvature of the splines exactly with the routing was a tad more laborious than I would prefer and could be easily fumbled- when the splines are in place, there is no way of seeing that they are a perfect fit – and if they are not, your solid repair is ruined. So, for beginners, I’m not recommending using one of these jigs unless under an experienced tech or instructors’ watchful eye. Or try it out on a practice job a couple of times first. The great thing though is once you have the setup and cutting technique down, it can be an invaluable tool in the shop- proving a level of quality headstock repair suited in any high-end shop. And as in this case, if you ever spend time in a busy repair shop, there are plenty of headstock repairs that require resetting, refixing, and re-repair, and this tool gets that job done perfectly.
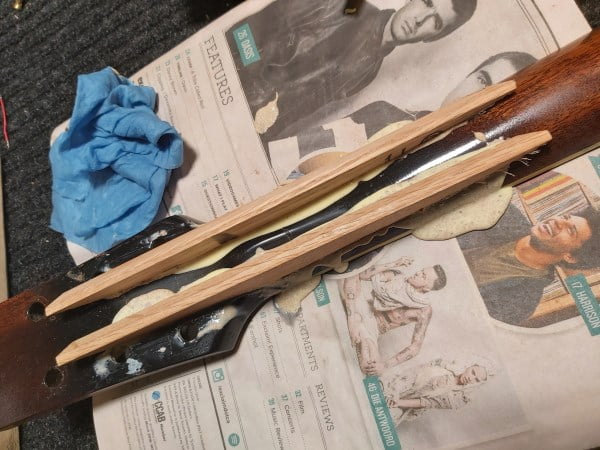
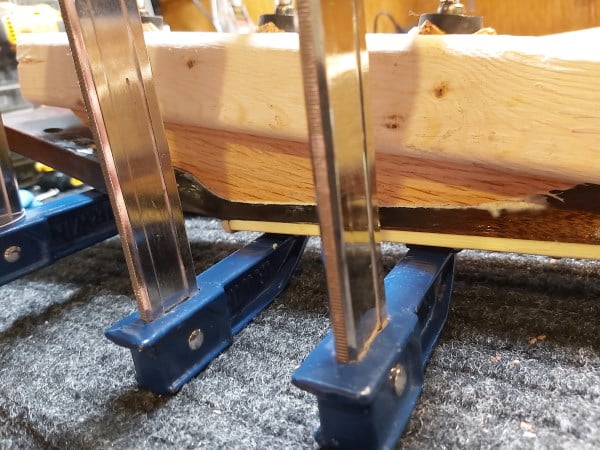
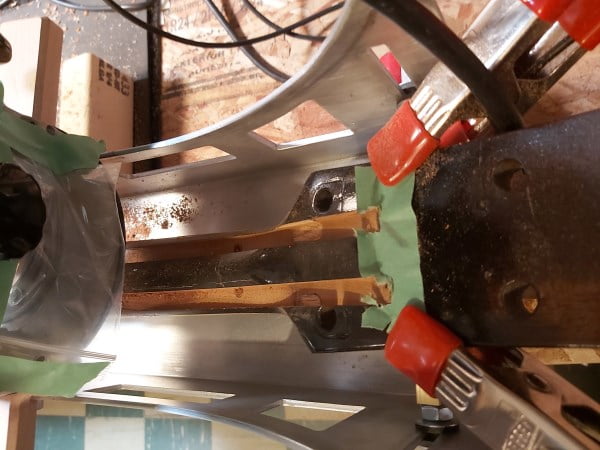
Once the routes and splines are done, we glue them in using traditional wood glue.
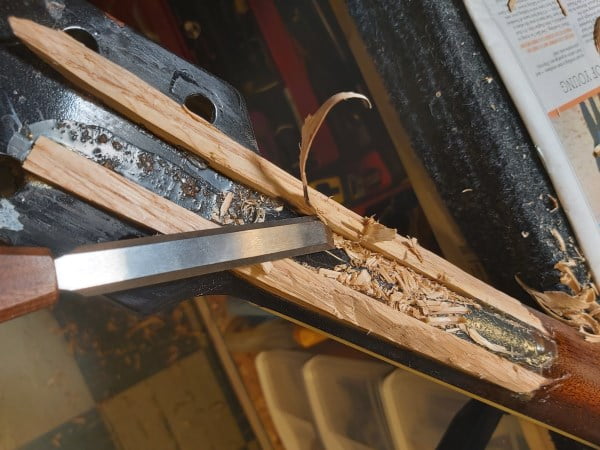
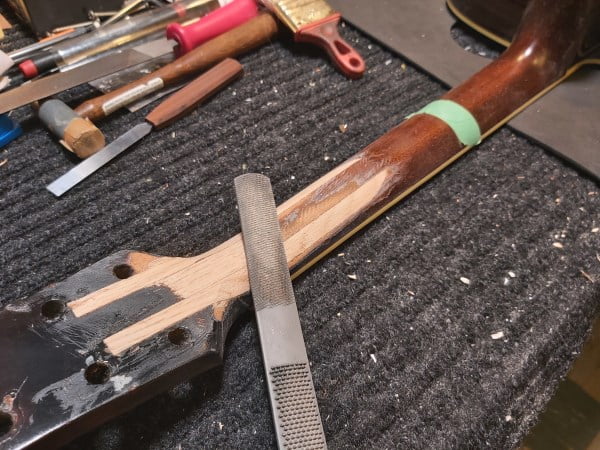
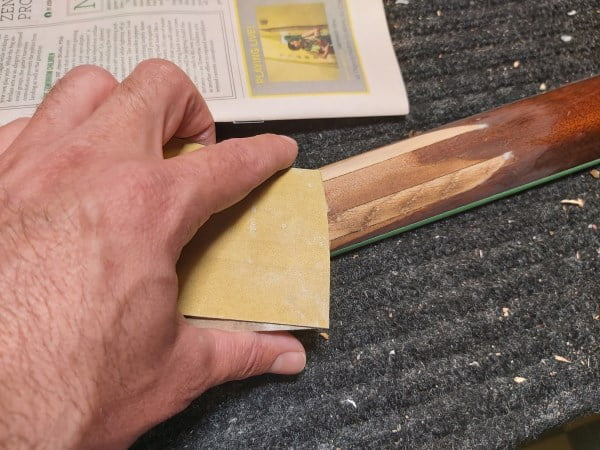
After a couple of days of setting, it’s time to remove the excess wood. A high-end chisel will make short work out of those splines, and allow some crude neck shaping in the process. Once I bring it down close to the neck, I switch over to a rasp for final shaping, and finally sandpaper to bring everything together.
Well, that’s Part 1. Next, refinishing using a black shade over the mahogany to hide this mess 😉 Stay tuned.
Post your questions or comments below!


Where did you get your jig?
Hey Andy, please mail info@blackwoodguitarworks.com and I’ll send details.